

Normally, The Little One is very indifferent when it comes to my sewing for her. I often have to offer some bribes to get her to try that new dress I just finished, or a pair of pants I made for her. Every once in a while I get lucky. Once I was browsing sewingmamas.com forums and somebody "Sew n Show"ed this pieced knit dress with a big cake on the front. And that was it, my daughter fell really hard for that dress, she wouldn't let me turn off my computer until I made her a similar one. I just had no choice but to start sewing a similar dress, even though I didn't know the techniques used to make the dress. I emailed the lady who had sewn the dress asking her the part that I didn't understand, but my daughter wasn't willing to wait. So I just made the dress the way I knew. I did get a response from the mama who made the dress originally and now I know how to do it right. I have added her technique as a note in the relevant steps, so you could get it right. But both the munchkin and I love the dress. Do you have a girl who might love to have a dress like this one? Here is how to draft and sew Layer Cake Dress:
Supplies:
Different knit fabrics, with at least one half yard piece for bodice
Complexity:
Intermediate
Time:
2-3 hours
Construction:


Note: I have explained a better technique to do this in Steps 8-10. So skip to them if you want to learn that. Step 5-7 are the steps I used to create this dress. But step 8-10 is better and faster.
Also the length if these strips will keep on increasing with each tier. A good rule of thumb is to add a quarter into the length of previous tier to get the length of next layer(tier)
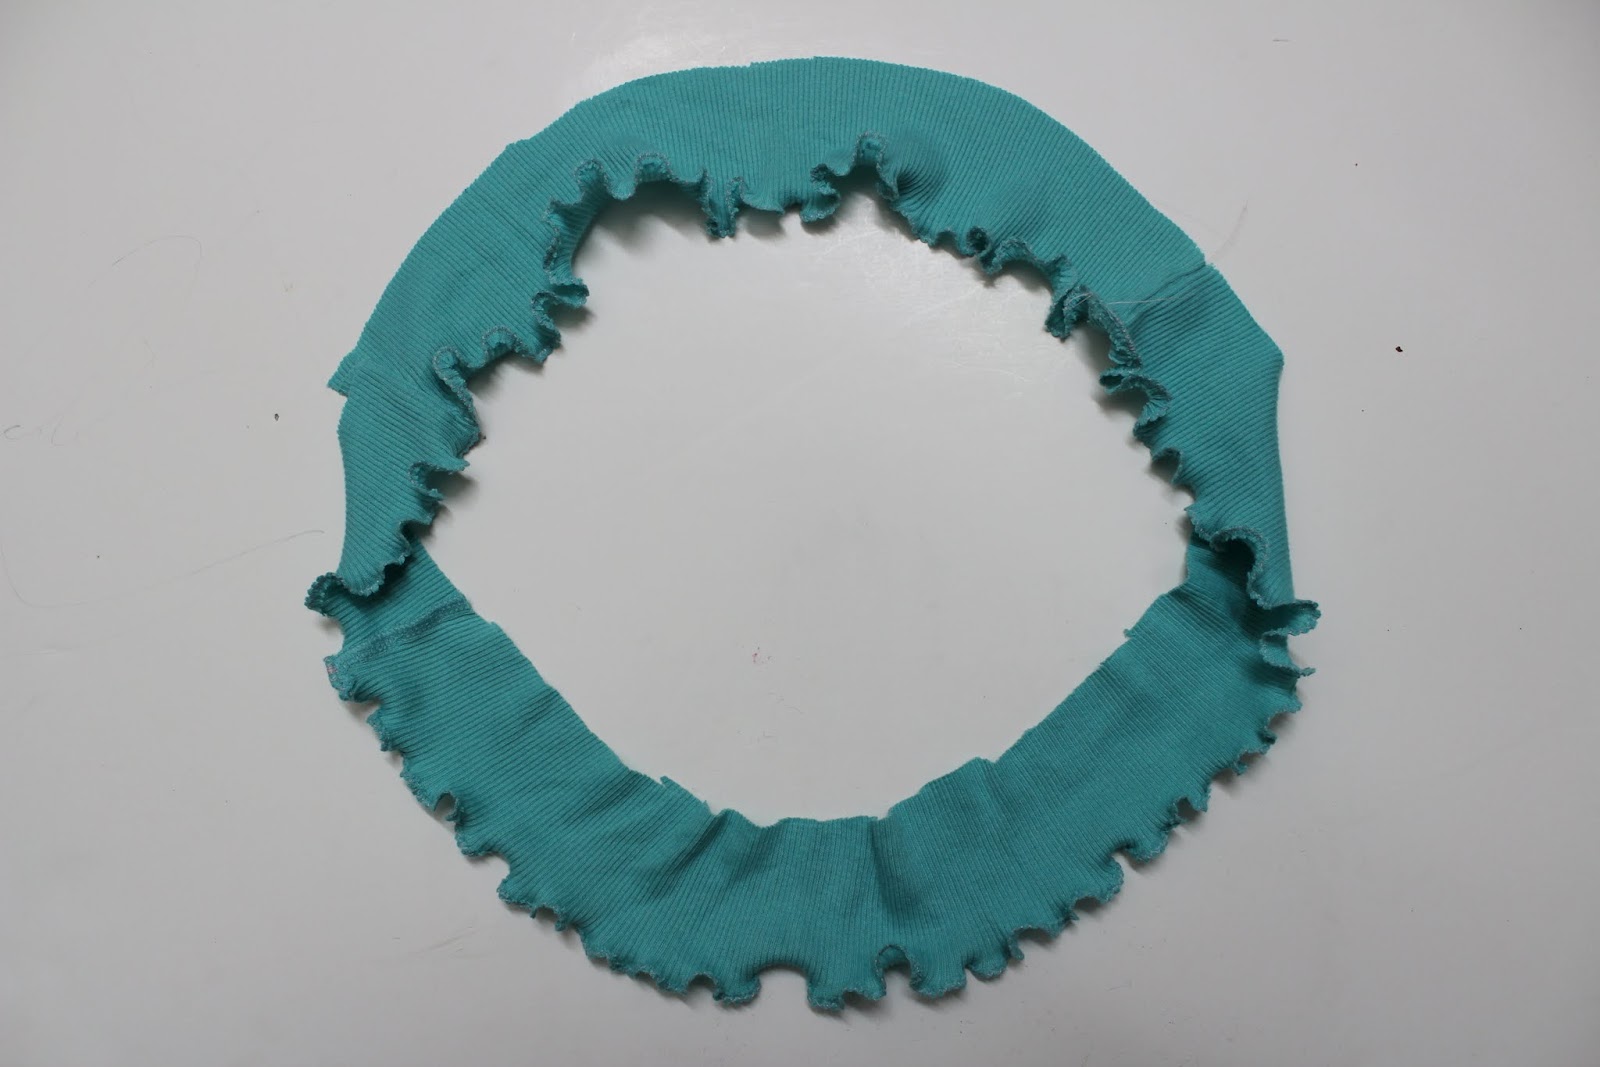
One you cut out the strips, Sew along their smaller sides with right sides together to form a circular strip. Now sew a lettuce hem along the one raw edge as shown above.

This is how I joined the tiers in this dress. However, when I asked to another member of sewingmamas.com how she does it, she showed me a very different way. And I found that her technique is much better than mine because then you don't see the joining seams. So here is a little detour on the better way of joining the tiers.


Cut from two fabric with the upper fabric slightly smaller than the inner fabric.
Now sew lettuce hem on the straight end of the sleeves ( both fabrics). Sew a seam on along the lower part of the sleeves to make it a tube. Do it for each fabric individually, so you get two tubes per sleeve.
Now pin the sleeves to the dress and sew them on.

12. For the neckband, measure the neckline all around. Lets call this length L. Cut out a 2/3L long and 2 inch wide ( actually after making many Tshirts and tops this way, I have now realized that 3 inch is the optimum width for neckband, but I took 2 inch in this dress) strip. Sew the small sides ( right sides together).


I will show you how to make the cake motif next week.


Amazing idea! I pinned this! I'm a new follower via GFC, Pinterest, & Twitter!
ReplyDeleteDiana
Diana Rambles
Bento Blog Network
Link Rink
This is very cute. I love the color combinations you've used. Thank you for sharing.
ReplyDeleteWow! This is so cute. I've made some using t-shirts or tanks, but I've never tried to sew my own top. Thanks for the tutorial!
ReplyDeleteGreat tutorial I love the dress. I can't wait to see the tutorial on the other dress also. Thanks for sharing with Adorned From Above.
ReplyDeleteDebi @ Adorned From Above
Great tutorial... adorable dress! Thanks for sharing this!
ReplyDeleteGorgeous dress - and as always a wonderfully clear tutorial!
ReplyDeleteThanks for linking to a Round Tuit!
Hope you have a fabulous week!
Jill @ Creating my way to Success
http://www.jembellish.blogspot.com/
@Diana @Sketched Soul @Bonny @Debi @folkhaven @Jill Thank you so much for dropping by and commenting. I'm glad you liked it.
ReplyDeletesitus judi slot
ReplyDeletesitus judi slot online
situs judi slot online resmi
situs judi slot terpercaya
situs online